
As a freelance presentation designer, I go out of my way to provide my clients with value by providing the the highest quality work possible, yet sometimes were limited due to restraints such as budget, time, and technology. Today, we’ll focus on the latter subject.
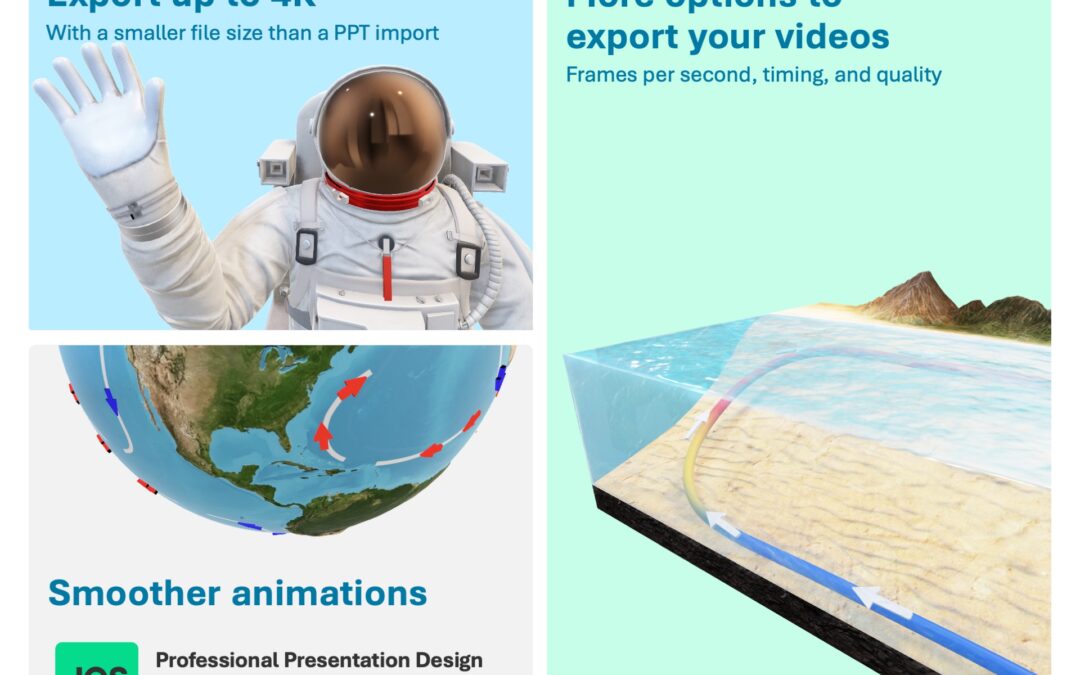
PowerPoint is a more powerful design tool than many professionals realize; however, there are limitations to what it can do compared to other pro tools out there. For instance, while PowerPoint slide shows can run smoothly at 60 frames per second (fps), exporting that same slide show to video is currently capped by the software at 30 fps.
If you’re wondering how to change frame the rate in PowerPoint, or how to export video from PowerPoint at 60fps, or what is the best frame rate for PowerPoint videos; this post is for you.
So, how do we fix this? Use this handy Macro to allow PowerPoint to export at 1080p and 60fps. This results in a smoother video with a nominal file size – a definite improvement over the default export.
⚠️ Before we go any further, I should mention that this method is specifically for the Windows version of PowerPoint. Unfortunately, Microsoft doesn’t robustly support VBA (Visual Basic for Applications) on Mac as they do on Windows, which can be a bit frustrating for Mac users. If you’re on Windows, keep reading, and I’m sure you’ll find this helpful.
Step 1:
To get started with using Macros in PowerPoint, you need to access and create a new Macro. Here’s a helpful link from Microsoft’s support page on how to do that. Here are the steps summarized below.
To create or edit a macro by using Visual Basic for Applications, do the following:
- On the View tab, choose Macros.
- In the Macro dialog box, type a name for the macro.
- In the Macro in list, click the template or the presentation that you want to store the macro in.
- In the Description box, type a description for the macro.
- Click Create to open Visual Basic for Applications.
Step 2:
Once you’re ready to create the Macro, simply enter the code provided below, save it, and then run it on your PowerPoint file.
Note: you can change the variables here to customize your video output. For instance VideoWidth and VideoHeight can be altered for 4K, 1080p, 720p or any custom resolution you have. 1080p is set below as a default.
🗒️ Note: Always be cautious while running Macros, and only run those from trusted sources to ensure the security of your system.
Sub MacroName()
If ActivePresentation.CreateVideoStatus <> ppMediaTaskStatusInProgress Then
ActivePresentation.CreateVideo FileName:=Environ("USERPROFILE") & "\Desktop\Your PowerPoint Video.wmv", _
UseTimingsAndNarrations:=True, _
FramesPerSecond:=60, _
Quality:=100, _
VideoWidth:=1920, _
VideoHeight:=1080
Else
MsgBox "There is another conversion to video in progress"
End If
End Sub
Step 3:
No that you have the code set up, let’s run the Macros in PowerPoint. Summarized below are the steps from from Microsoft’s support page on how to do that.
To run a Macro by using Visual Basic for Applications, do the following:
- With the Developer tab visible:
- On the Developer tab, in the Code group, click Macros.
- In the Macro dialog box, under Macro name, select the macro that you want, and then click Run.
Once you run the Macro, the video will be exported to the folder listed in the code. The default here is your desktop, but you can change to your preferred location. It’s that simple!
Here’s are a few example of an exported video made using this technique. Note in the second video that Morph is exported very nicely, unlike in the native PPT export option.
Silky Smooth!
If you’re not used to programming, there may be a bit of a learning curve while setting this up, but once everything is in place, it works like a charm.
Give it a try and let me know how it goes on LinkedIn. I hope this Macro helps you create high-quality videos from your PowerPoint presentations effortlessly. Happy presenting!
Need help designing your next big presentation? I can help, DM me here, or email me at timj@jqscreates.com.
Need help designing your next big presentation?
I can help!
Contact JQS Creative today to learn more about our presentation design services.
Looking for a professional presentation designer?
Don’t stress out, contact me today! I have the experience and expertise to help you create a presentation that will make a lasting impression on your audience.
I know that creating a professional presentation can be time-consuming and challenging. That’s why I’m here to help. I’ll work with you to understand your needs and create a presentation that is tailored to your specific audience.
I’ll also help you with the design process, from choosing the right fonts and colors to creating engaging visuals. I’ll make sure that your presentation is both visually appealing and easy to understand.
So why stress out about creating a professional presentation? Contact me today and let me take care of it for you!